

As an Amazon Associate I earn from qualifying purchases and sometimes recommend products from other sellers at no extra cost you. For more details see my disclosure policy and privacy policy.
Making wine is a time-consuming process, but the end result is definitely worth it. In this blog post, we will take a look at the basic steps of how wine is made and how long each one takes. If you are interested in learning more about the winemaking process, or if you are just curious about how long it takes to make wine, then this post is for you!
Contents
How Long Does it Take to Make Wine?
Any wine lover will tell you that time is an essential ingredient in good wine. The patience to let the wine age is crucial, as it allows the flavors to develop and mingle in a way that simply can’t be rushed. Of course, not all wines need to be aged, but if you’re patient enough to wait, the results can be truly spectacular.

Making your own wine gives you complete control over every aspect of the process, from choosing the grapes to deciding when to bottle it. While it does take some time, the satisfaction of crafting a wine that perfectly suits your taste is well worth the effort.
Some home winemakers make several batches of wine at a time. This enables them to keep a selection of handcrafted wines on hand. It also allows them to experiment with different grape varieties and brewing methods.
By making multiple batches, home winemakers can find the perfect combination of ingredients and techniques to create their own unique blends. In addition, making several batches at once can be cost-effective, since it reduces the cost of materials per batch. For anyone looking to start making their own wine, making multiple batches is definitely worth considering.
Preparation: One to Two Hours
Making wine is a lengthy process, but it all starts with a single day of preparation. On this day, you will need to sanitize all of the equipment that will come into contact with your wine. This is a vital step in preventing spoilage, as even the smallest amount of bacteria can ruin an entire batch.
The easiest and most reliable way to sanitize your equipment is to use a chemical sanitizer. Simply follow the instructions on the label, and make sure to rinse everything thoroughly before moving on. With your equipment sanitized and ready to go, you can now begin the process of making wine.
Making the Basic Mix
Once everything is clean and sterilized, you’ll be ready to mix the juice, water and other additives in a fermenting bucket. Stir well, then seal the container. Move it to a convenient resting place where the temperature will remain constant during fermentation.
Primary Fermentation: Five to 10 Days
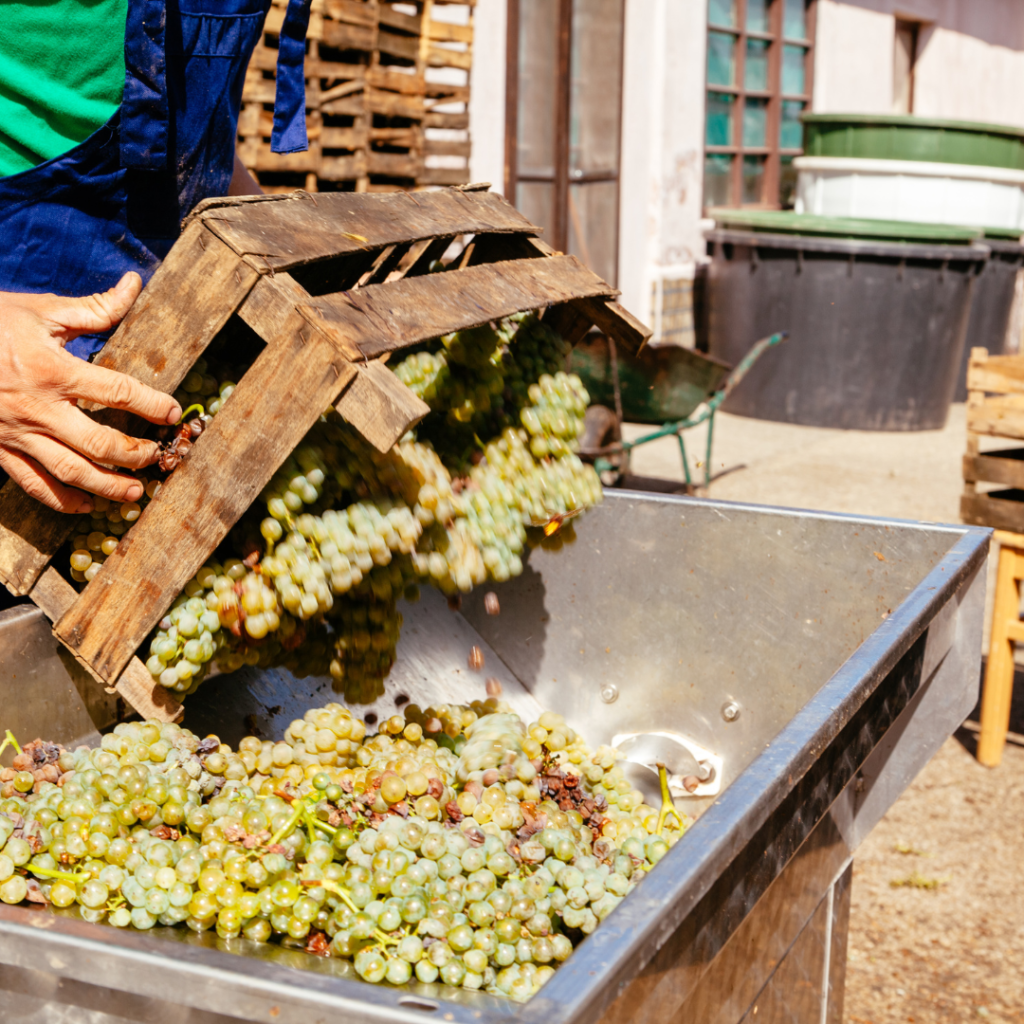
Most winemaking recipes will call for primary fermentation to be carried out in a plastic or glass carboy. However, some people prefer to use a bucket.
The main advantage of using a bucket is that it’s easier to monitor the fermentation process because you can see what’s going on through the clear sides of the container. Plus, if you’re using an airlock, it’s easy to see when fermentation has slowed down or stopped because the bubbles will no longer be rising to the surface.
Filtering the Wine
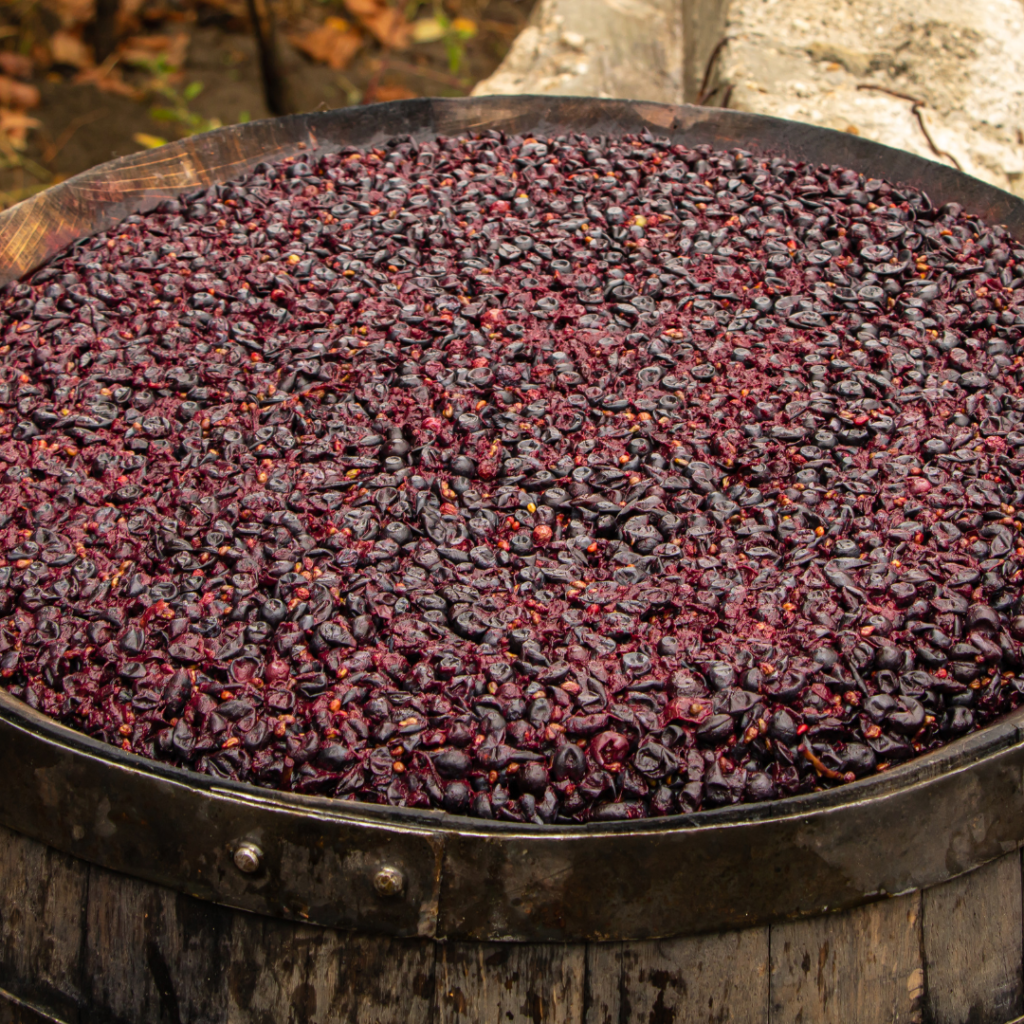
When primary fermentation is complete, it’s important to filter your wine to remove any leftover additives such as raisins, elderberries or oak chips. You can then transfer the wine to a glass carboy for secondary fermentation.
If you want stronger oak notes in your final wine, you can add oak chips back into the liquid after transferring it to the new container. Keep in mind, however, that this will increase the amount of time that your wine takes to age.
Ultimately, the decision of whether or not to use a bucket for primary fermentation is up to you and will depend on your personal preferences. try different methods and see what works best for you!
Secondary Fermentation: Five to 10 Days
The final stage of fermentation is known as secondary fermentation, and it’s during this stage that the remaining sugars convert into alcohol.
To monitor the progress of secondary fermentation, it’s important to take regular specific gravity readings using a hydrometer. Specific gravity is a measurement between 1.0 and 0.75 that tells you how dense the wine is compared to water.
As fermentation progresses, the wine becomes less dense, leading to a lower specific gravity reading. Each recipe has a different final specific gravity target. This reading will tell you when the wine is ready to move on to the next stage in the process. By taking regular specific gravity readings, you can be sure that your wine is fermenting properly and will be ready to enjoy when secondary fermentation is complete.
Clarifying: Seven to 10 Days
After fermentation is complete and the wine has been allowed to age, it will be cloudy from sediment and yeast residue. The final step in making wine is to add stabilizers and clarifying agents. These chemicals pull out the sediment, leaving impurities behind.
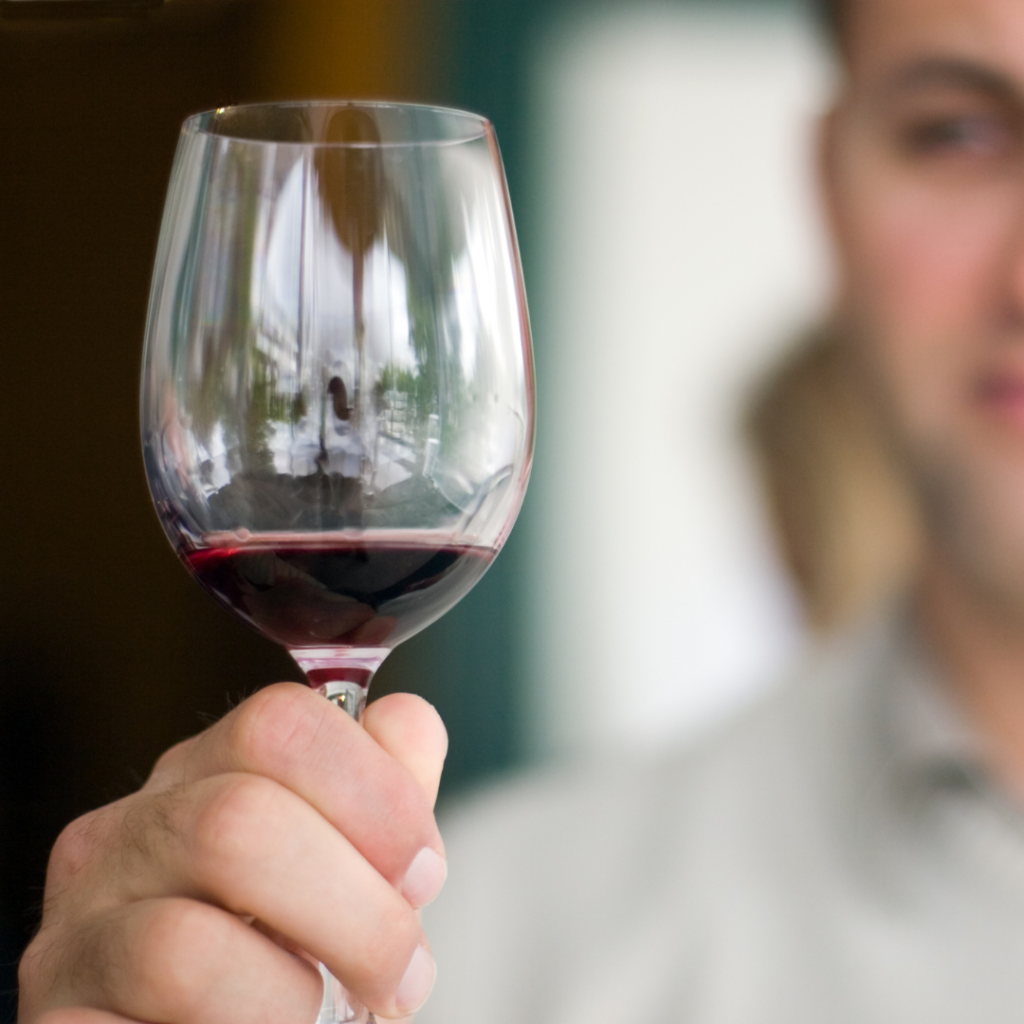
This process is called fining, and it results in a purer, clearer wine. There are several different fining agents that can be used, including bentonite clay, egg whites, and gelatin. Each agent has its own advantages and disadvantages, so it’s important to choose the right one for your particular needs. Fining is an essential step in making high-quality wine, so don’t skip it!
Bottling: Two to Three Hours
Before you start bottling your homemade wine, it’s important to sanitize all of the equipment that you’ll be using. This will help to prevent the growth of bacteria and ensure that your wine tastes its best. You can sanitize your tools by boiling them in water for a few minutes, or by using a commercial sanitizer.
Once your tools are sanitized, it’s time to fill the bottles. Be sure to leave enough headspace at the top of the bottle to allow for expansion. Next, insert the corks into the bottles. Finally, wipe down the outside of the bottles and label them with the type of wine and the date that you made it.
Store the bottles upright for the first 24 hours, then lay them down so that the corks stay moist.
How Long Should You Leave Wine to Age?
Most people agree that wine tastes better if you wait at least a little while to drink it. The question is, how long should you wait?
For most white wines, six months is the ideal aging period. This gives the wine time to develop its flavor and to smooth out any harshness.
Red wines generally benefit from a longer aging period, typically between 12 and 18 months. This allows the tannins in the wine to soften, resulting in a smoother flavor.

Of course, there are always exceptions to the rule. Some wines are best enjoyed immediately after bottling, while others can continue to improve with age for many years. Ultimately, it’s up to you to decide when your wine is ready to drink.


